
注意
UnityのPost-processingはレンダーパイプラインに何を使うかによって実装手順が異なります。ここに記してあるのは、デフォルトのBuilt-in Render Pipeline(ビルトインレンダーパイプライン)を使ったときの手順です。
実装手順
準備
Package Manager (UPM)からPost Processingパッケージをインストールしておきます。
Layerの追加
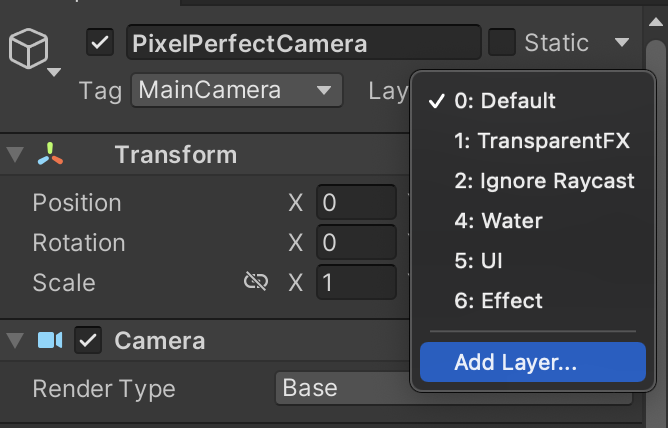
適当なGameObjectを指定して、Layerのプルダウンリストを選択し Add Layer… を選びます。
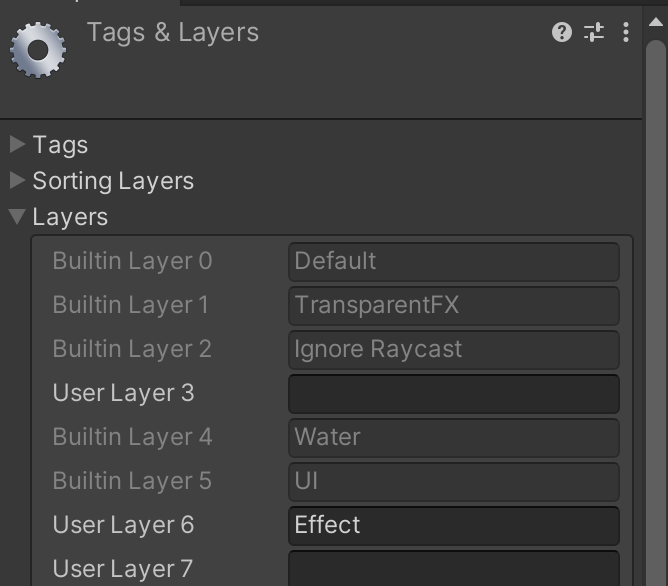
(この図ではすでに 6:Effect が追加されてしまっているけれど、)適当なUser Layerを選択してEffect Layerを作りましょう。実際には好きな名前で良いです。
Post-Process Layerを追加する
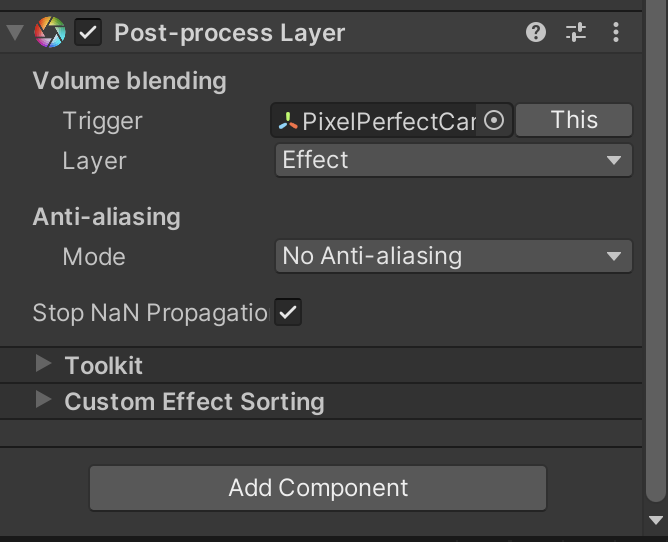
Main Cameraコンポーネントを持つ GameObject に Add Component し、Layerに先ほど作ったレイヤーを指定します。
Post Process Volume 用のオブジェクトを追加する
空のゲームオブジェクトを作成して、 Post-process Volumeを追加します。
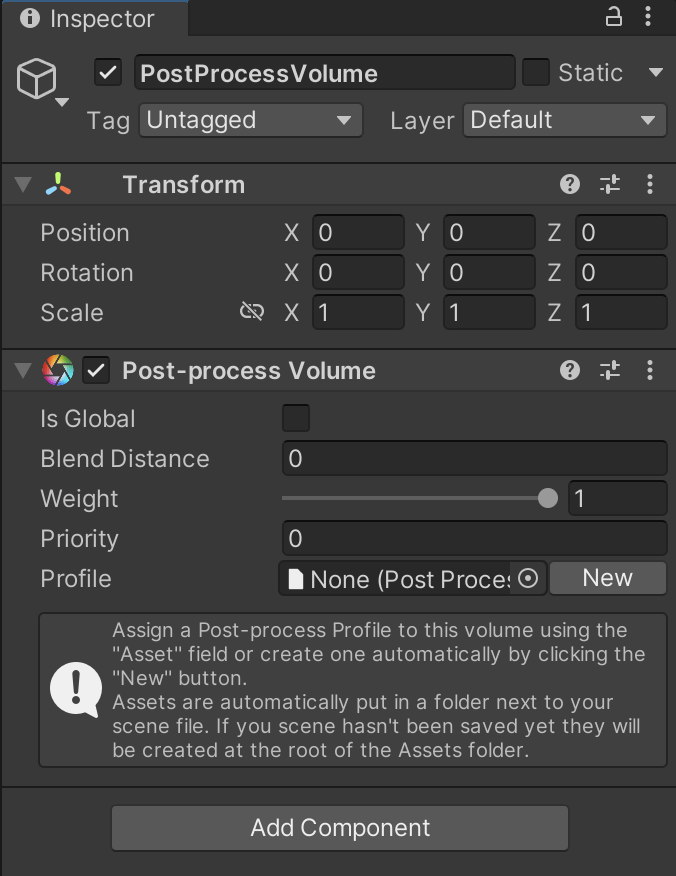
まずは画面全体に適用するために Is Global にチェックを入れてみます。
適用したいEffectを選ぶためにNewボタンを押して新たにProfileを作成しました。
基本的にはこれだけです。簡単!
URPなど、
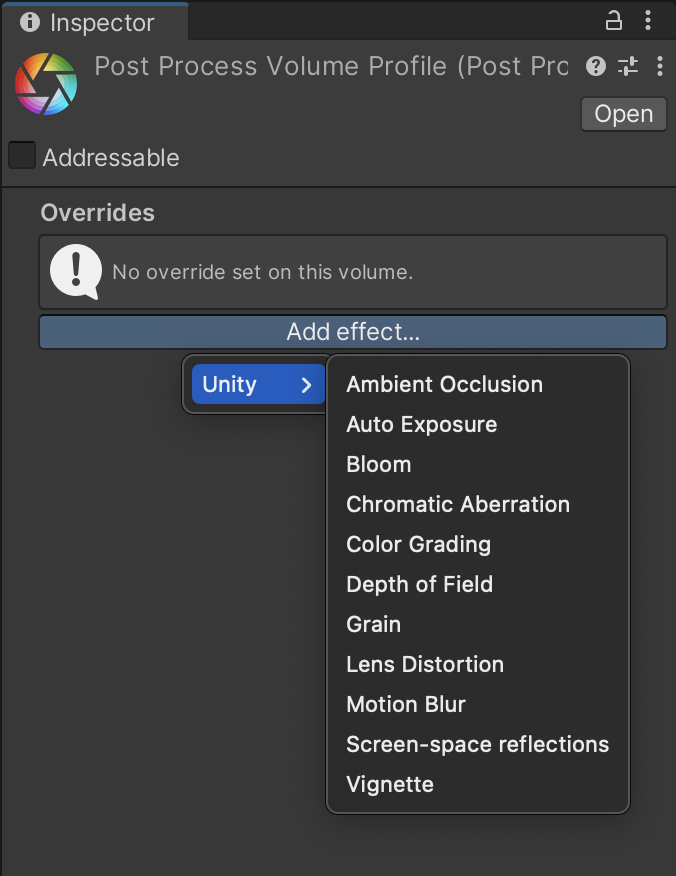
適用したいEffectだけを選択します。
各Effectがどのような効果なのかを見るのは、以下の記事が詳しいです。実装方法も載っています。
参考
Getting started with post-processing | Post Processing | 3.1.1